Outbound Bridge
Sending AI3 to Ethereum
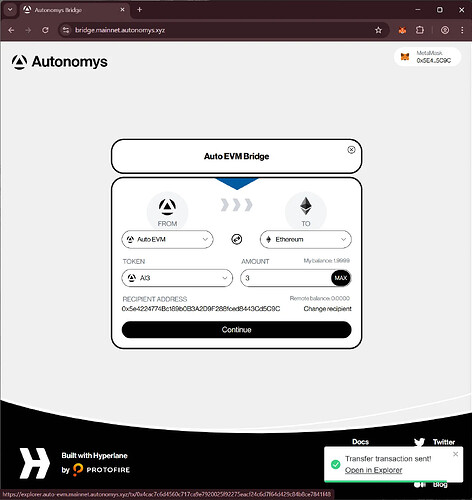
- Select the AI3 token and enter the amount you want to transfer.
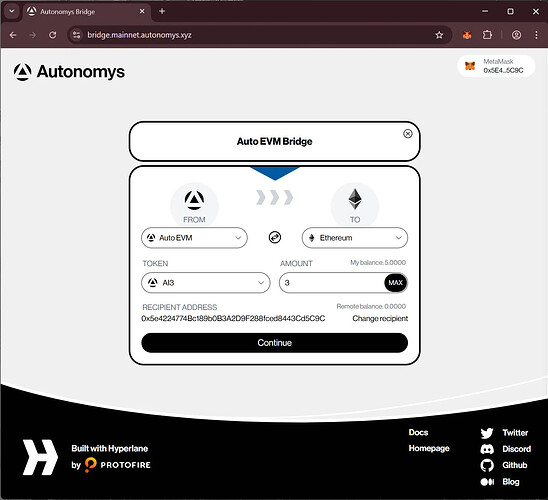
- Make sure that Auto EVM is selected as the From network and Ethereum as the To network and click
Continue.
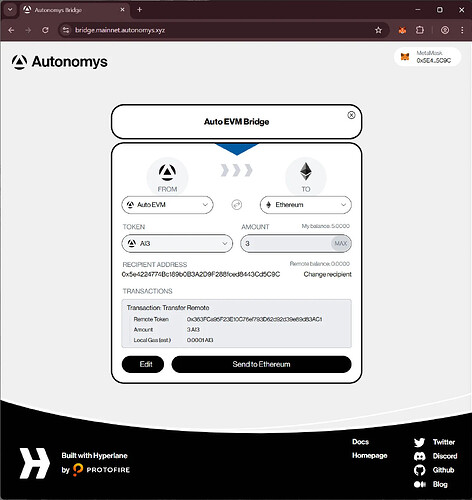
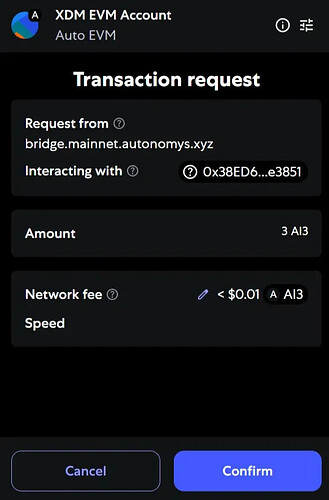
- Verify you are happy with the proposed transfer and either click
Editto adjust or clickSend to Ethereum.

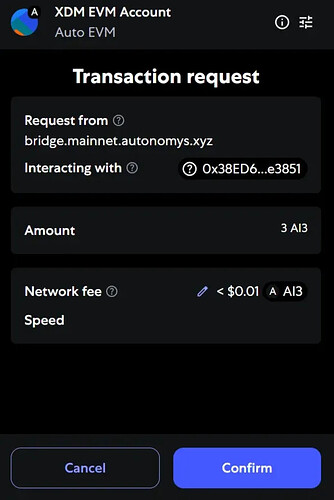
- Approve the transaction in Metamask by clicking
Confirm.
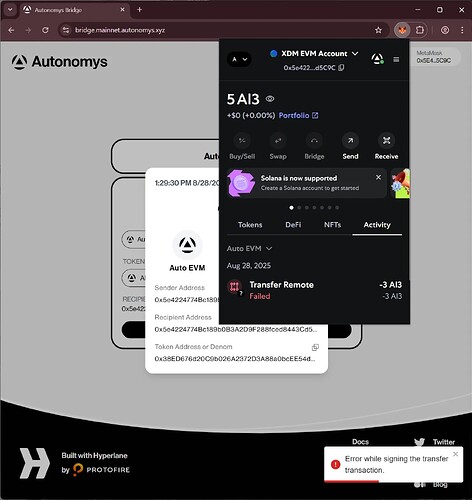
Adjusting Gas Limit
- If you receive an error you may need to adjust the gas limit on the transaction.
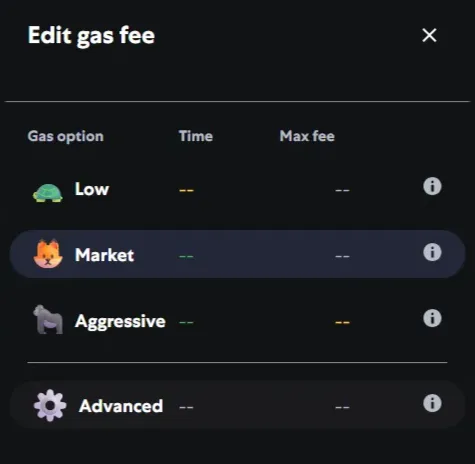
- Clicking
Advancednext to the gear icon and then the up arrow once on the Max base fee usually adds enough gas to complete the transaction. Click on theSave these valuescheckbox if you want to avoid this step in the future. ClickSave.
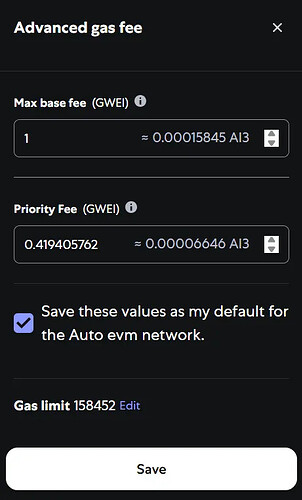
- Next click
Confirm.

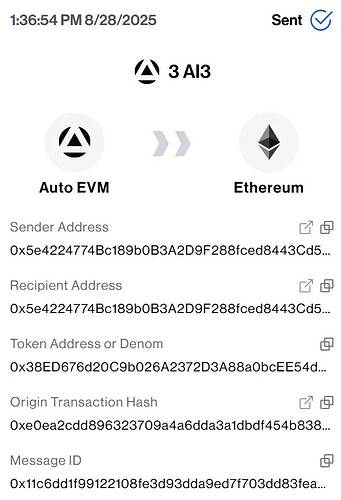
- A summary of the bridge transfer will popup with addresses, the transaction hash, and links to the relevant explorers.
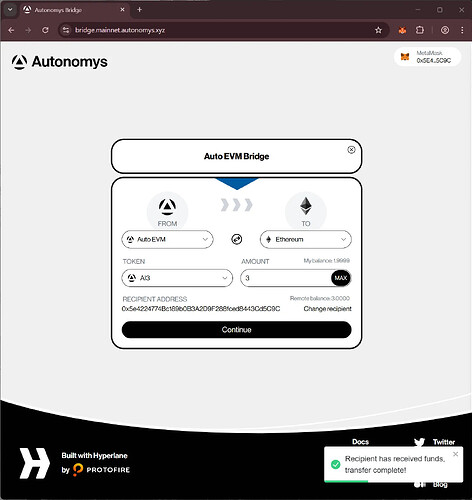
- You should see success toasts in the bottom right of the website.
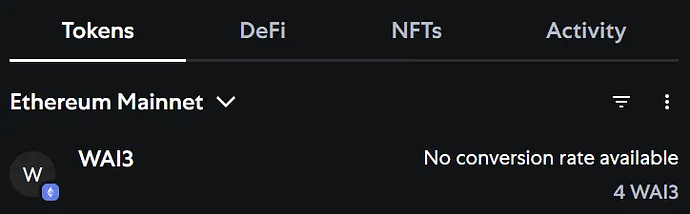
Adding WAI3 on Ethereum to Metamask
-
To view your bridged AI3 on Ethereum you will need to add the token to Metamask. The Ethereum WAI3 contract can be found at 0x363FCa95F23E10C76ef793D62d92d39e89d83AC1 which will need importing.
-
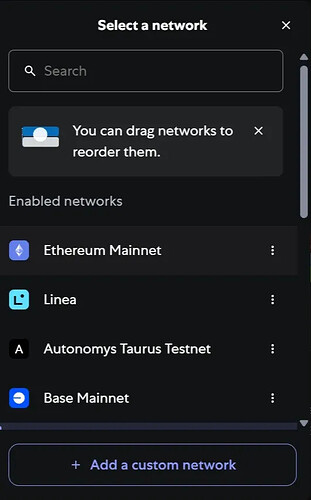
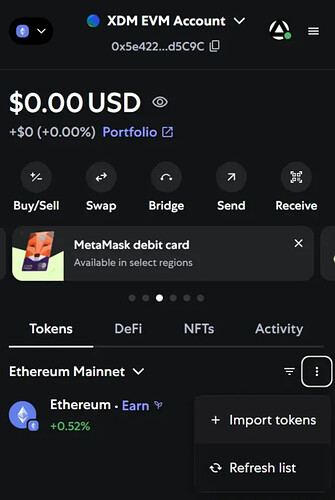
First, switch network in Metamask to Ethereum.
- Go to the Tokens tab, click the hamburger button on the right and click
Import Tokens.
- Switch to the Custom token tab, select Ethereum Mainnet and enter the contract address
0x363FCa95F23E10C76ef793D62d92d39e89d83AC1. The symbol and decimals will auto-populate.

- Click
Nextand confirm you would like to import. ClickImportto continue.
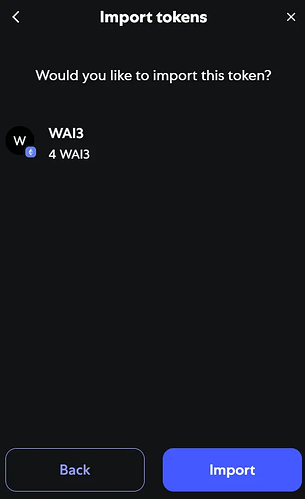
- The token and your balance now appears.